
After you have purchased the Binny software package, your next step is to install the Binny software on your Napa Tracs server. This document covers all the required steps from downloading Binny all the way to completing your installation.
If any errors come up during the installation process, feel free to reach out to the Platinum Technology support team at [email protected]
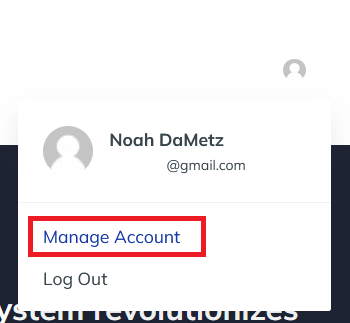
1. Open your Account Management page at the top right corner of the BinnyTech.com website
2. Click View Order Details for the order associated with your purchase of Binny
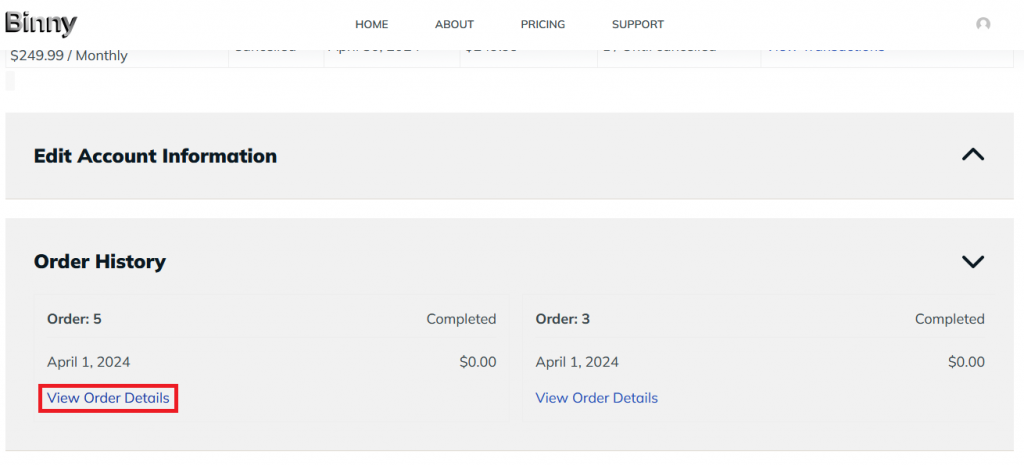
3. Once you are on the Order Details page, click the link to download the Binny software bundle

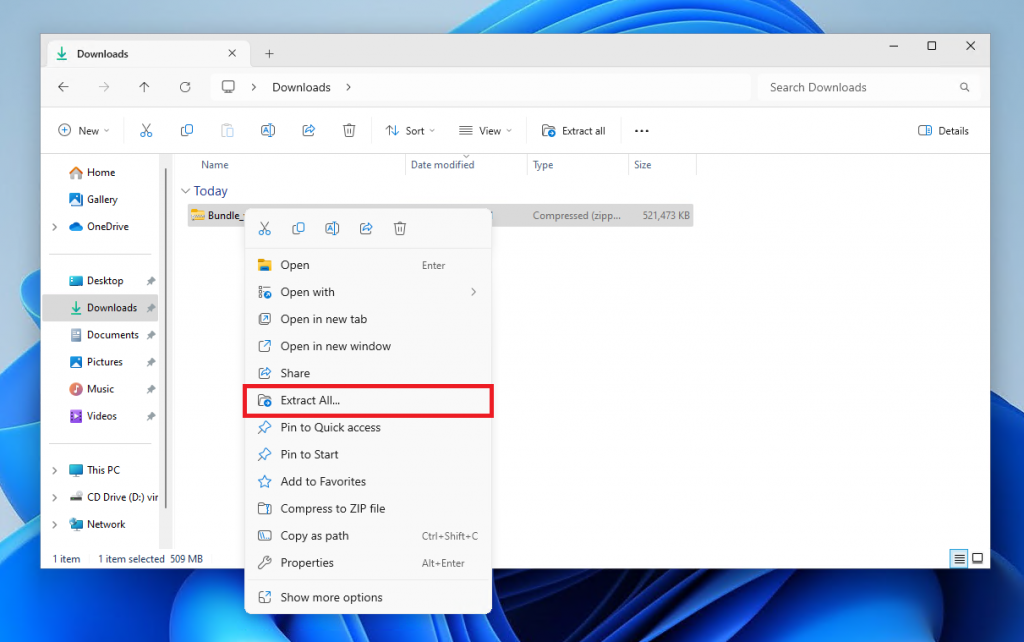
1. After your download has completed, extract the contents of the zip file
- Right click on the Bundle.zip file and click ‘Extract All’
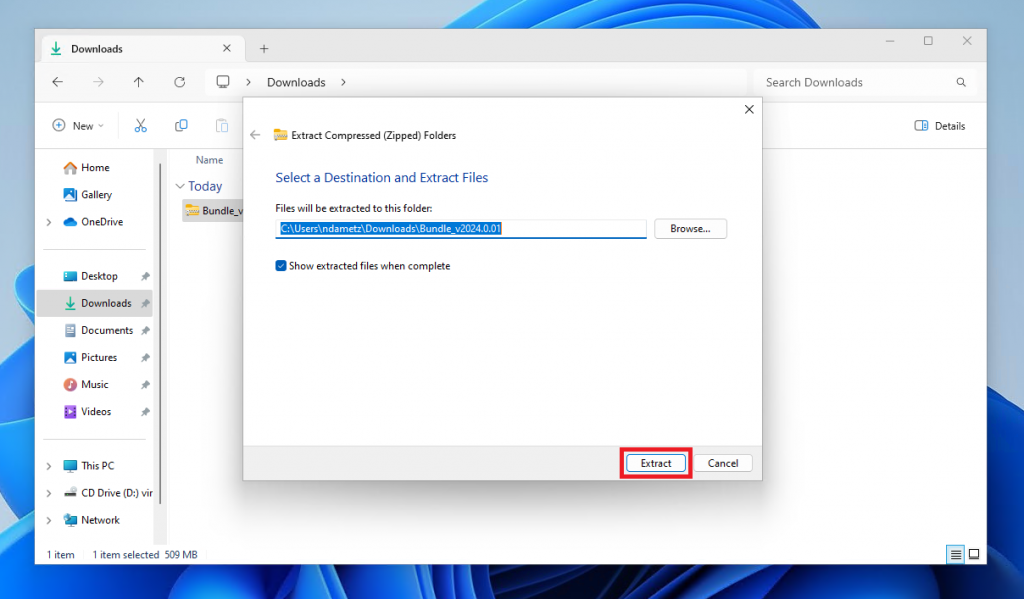
- Leave all fields unchanged and click ‘Extract’
2. Run Binny Setup executable
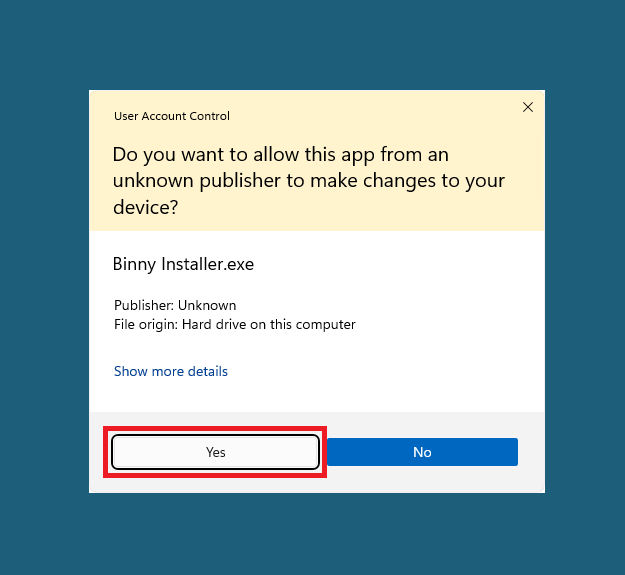
- Double click on the Binny Installer program and click Yes when Windows prompts you to make changes on your system.
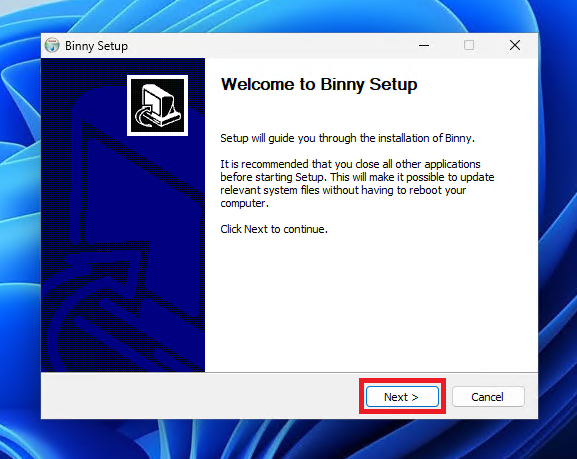
- Click Next on the installer’s Welcome page
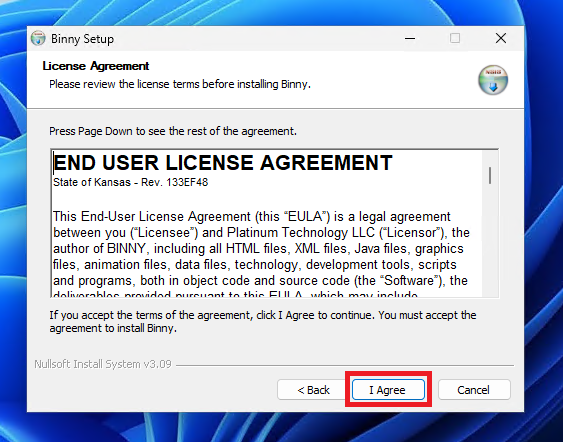
- Read the Binny License Agreement and click Accept to continue
- Enter your Binny username and password, the number of labels in your system, and select the shop management platform you are working with. Click Next to continue
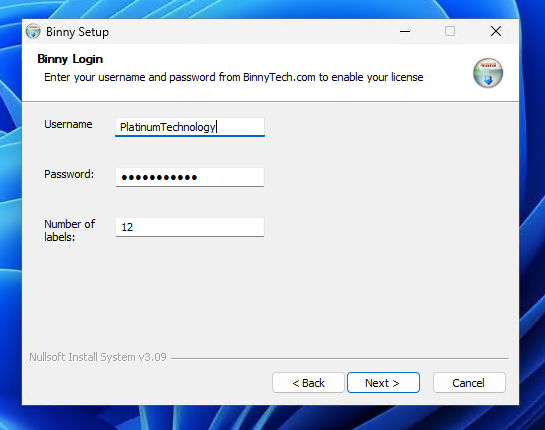
- If you have selected TekMetric as your shop management platform, you will need to create a new TekMetric user with access to your shop. Then enter the user’s email and password to give Binny access to your order data.
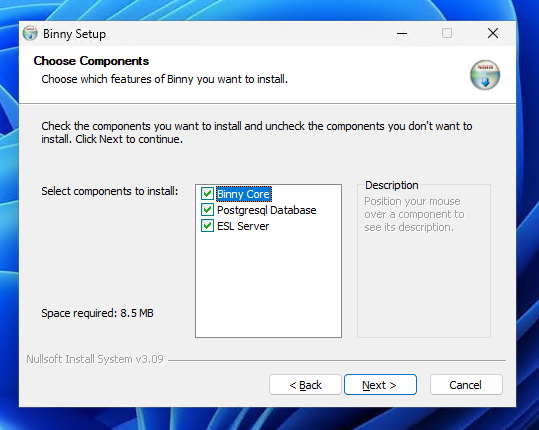
- Accept the default components by clicking Next
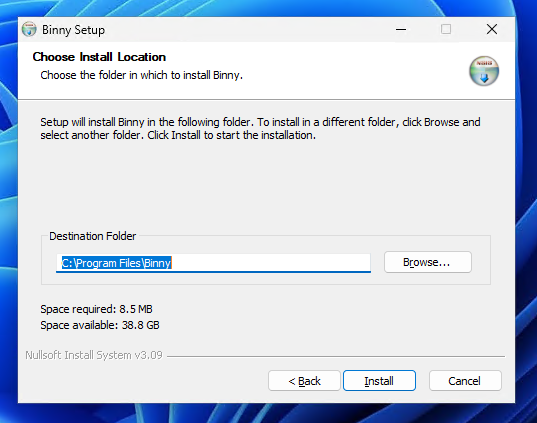
- Leave the Destination Folder as default, and click Install to start the installation process
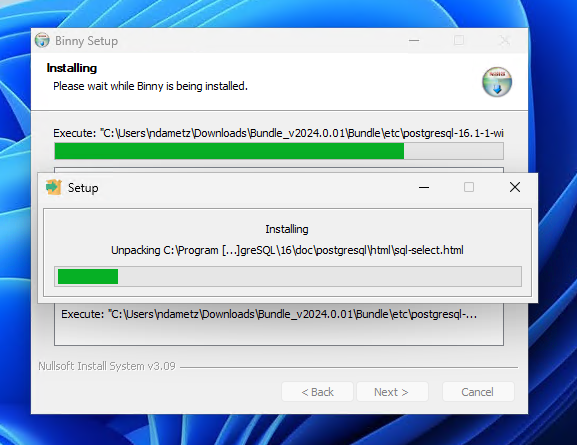
- The installation will take several minutes to install all required components
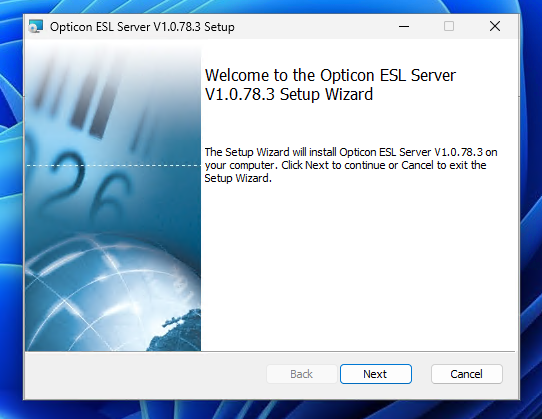
- Towards the end of the Binny installation, a new installer will open for ESL Server. Click through this installer without changing any of the default parameters
- Next the Binny installer will prompt you to decide if you want a shortcut to be added to your desktop and if you want Binny to run on startup. We recommend leaving these with their default checked values, but if you do decide to deselect them you can always run Binny from the Windows Start Menu by viewing All Programs.
Finally, once the ESL Server installation is complete, the Binny installer will check your system for Java. If a valid version of Java is found, the installer will go straight to the Binny Setup Complete page where you can exit the installer and skip to the First Run through section below.
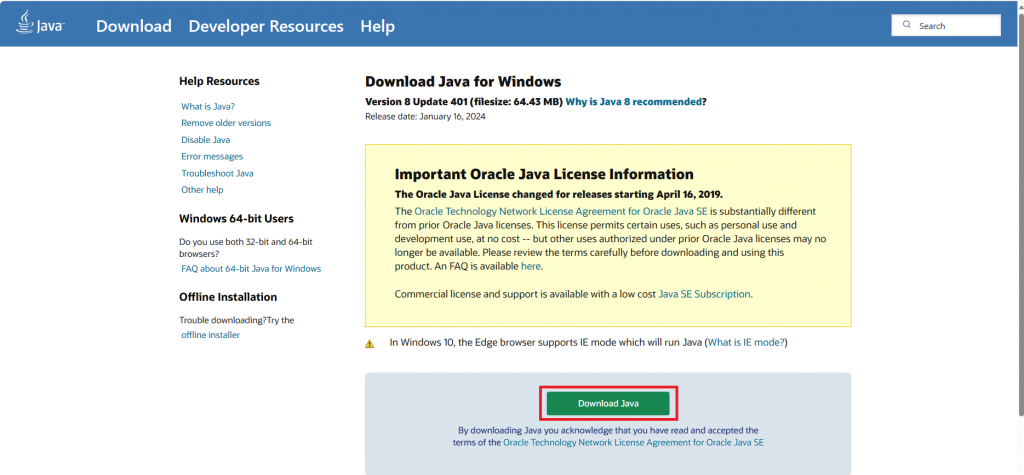
- If the Java check page is displayed, this means you need to download and install the most recent version of Java. Click the Download Java link to go to the Java website

- Click the Download Java button
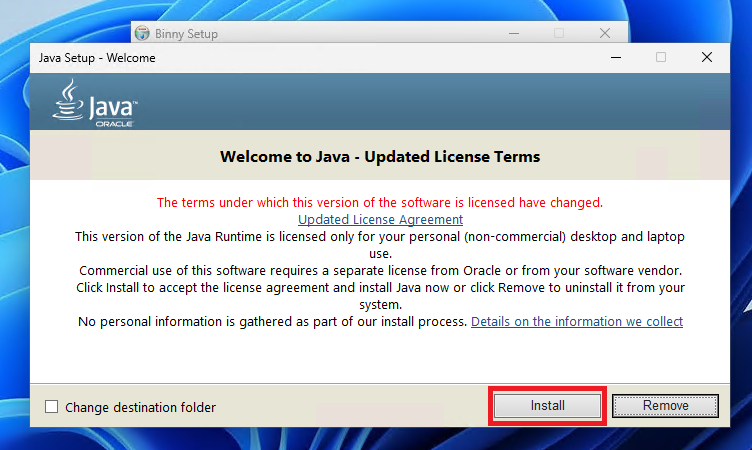
- Run the downloaded Java installer and accept all default parameters
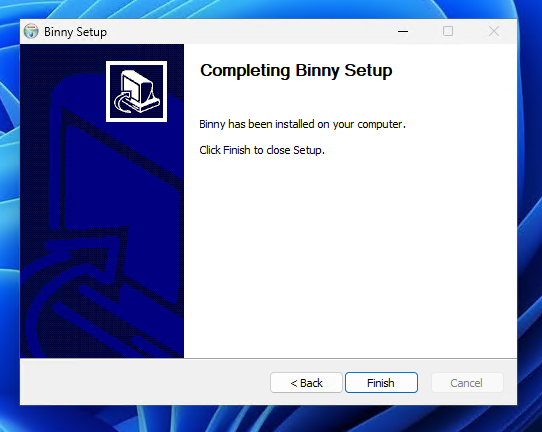
- Once Java has been installed, go back to the Binny Installer, click Next, and then exit the Binny Installer
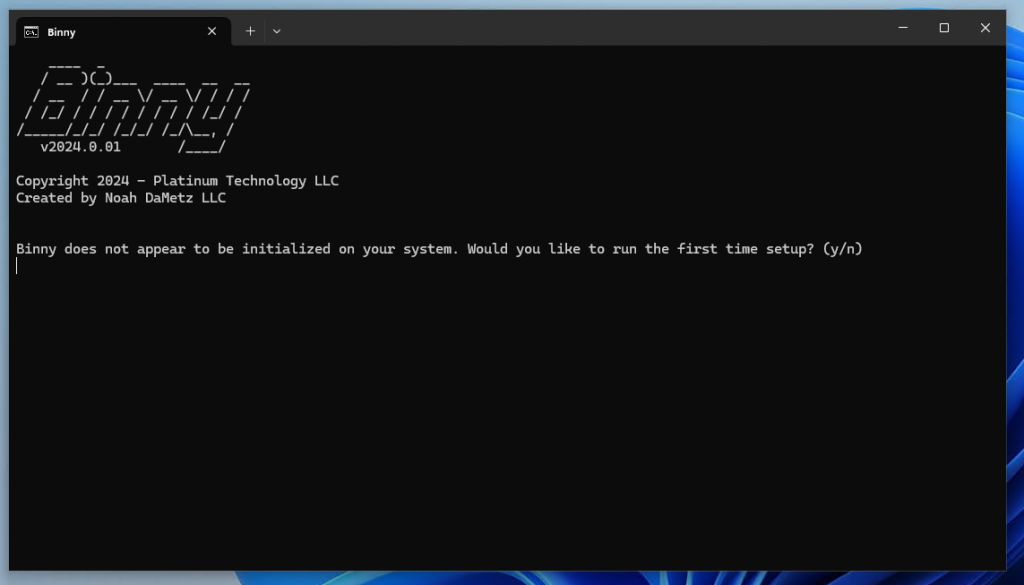
- Run the Binny shortcut on the desktop

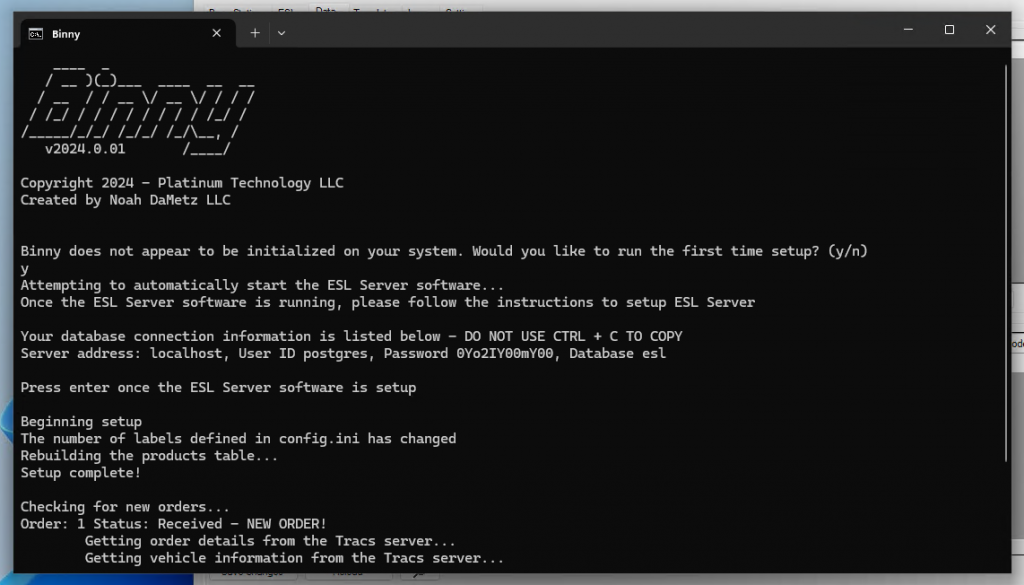
- Binny will detect that it has not been run on this system before and prompt you to run the “First time setup”. Type ‘y’ and hit enter
Binny will automatically setup program files and a simple database to keep track of your orders. After completing the automated setup process, Binny will attempt to open the ESL Server software. Once open follow the directions below to setup the link between ESL Server and Binny:
- Connect to the ESL Gateway device, and enable all E-Lables
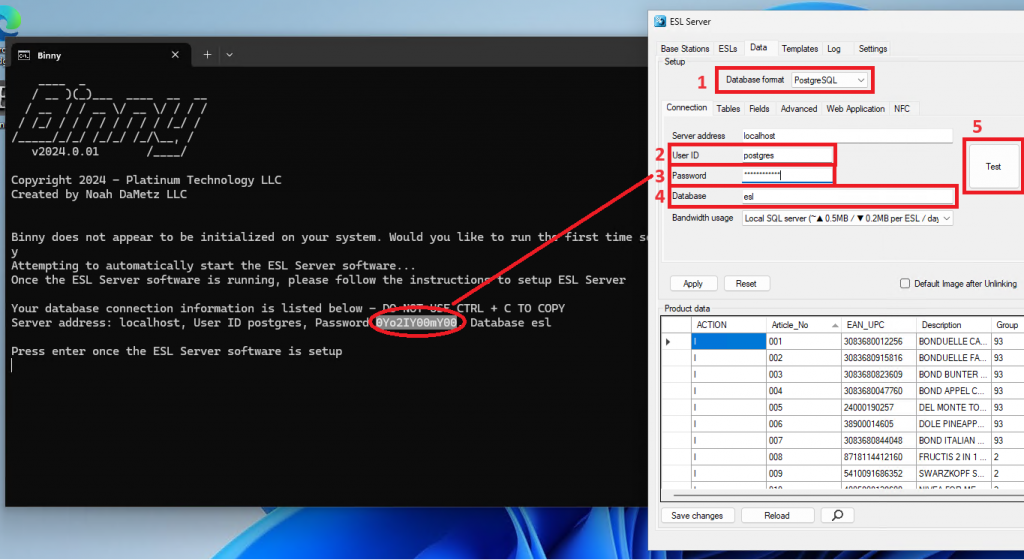
- Connect ESL Server to the database – Under the Data > Connection tab,
- change the Database format to PostgreSQL using the drop down selector
- Change User ID field to “postgres”
- Set the Password field to the password that is shown in Binny (DO NOT USE CTRL + C to copy)
- Set the Database field to “esl”
- Click the Test button to make sure the username and password that were entered are correct
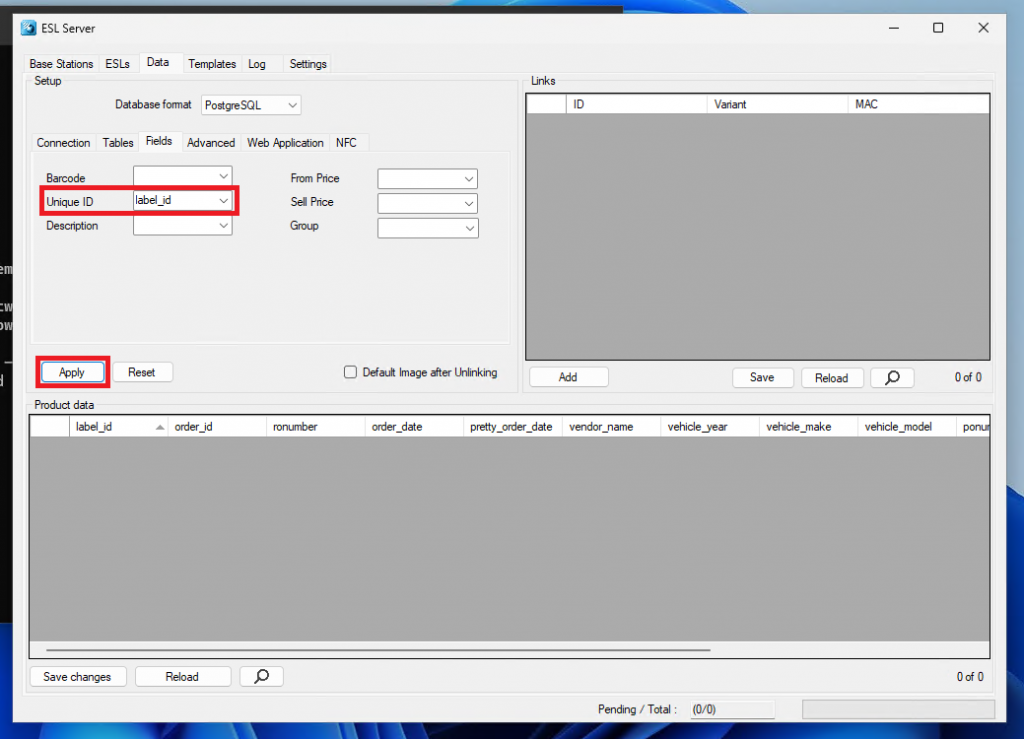
- Under the Data > Fields tabs, set the Unique ID to label_id and then click Apply
- Once ESL Server has been setup, go back to the Binny window and hit the enter key to start Binny in it’s normal operation mode
During Binny’s first order check, it will index all orders that have been placed in order to get a baseline. This process can take a while so be patient while Binny learns. After the first order check, Binny will check for new orders every 5 minutes.
Normal Operation
Once Binny has been fully installed and is running, the Binny program window and ESL Server must remain open. Both windows can be minimized to the task bar to keep them out of site.
Run on Startup
The Binny installer automatically adds Binny to your computer’s startup items. You can enable or disable the automatic startup feature by opening the Windows Task Manager, Selecting the Startup Apps tab on the left side of the window, Select Binny and use the Enable or Disable buttons to turn the automatic start feature on and off respectively.